How to Make Raw Milk Yogurt

Or, at least, this is how I make raw milk yogurt. 🙂 As with kombucha, there are about a million tutorials out there outlining how to make raw milk yogurt. Mine is really a mixture of different ones I’ve read over the last three years of drinking raw milk, combining the parts that finally made a yogurt that we liked.
This is about as close to the texture of store-bought yogurt I could get without using powdered milk, but of course the taste is different as raw milk just has a different flavor overall than conventional milk (it’s about a million times tastier 🙂 ). But E likes it, I like it, and B loves it, so I’m a happy yogurt-maker.
Equipment/Ingredients
This will make 1 half gallon of raw milk yogurt:
- dehydrator (yes, I know, most people don’t have a dehydrator, but I’ve found this to be the easiest and least time-consuming way to make yogurt – I have a 5-tray Excalibur dehydrator that quart-sized jars fit into perfectly)
- mason jars (I use 2 wide-mouth quart-sized jars to make a half gallon of yogurt every week)
- thermometer (this one works perfectly for me)
- approximately 6 cups raw milk (I set out my 2 quart-sized jars and fill them to just below the neck to see how much I need, so this measurement isn’t exact)
- 2 rounded teaspoons gelatin (I use Great Lakes Gelatin – this is adds a little thickness to the milk without having to use powdered milk or forking over more money for raw cream)
- 6 oz. yogurt (I haven’t had success using the yogurt I’ve already made to make more yogurt and I’m too lazy to maintain a pure seed starter, so I’ve used store-bought yogurt with success)
Method
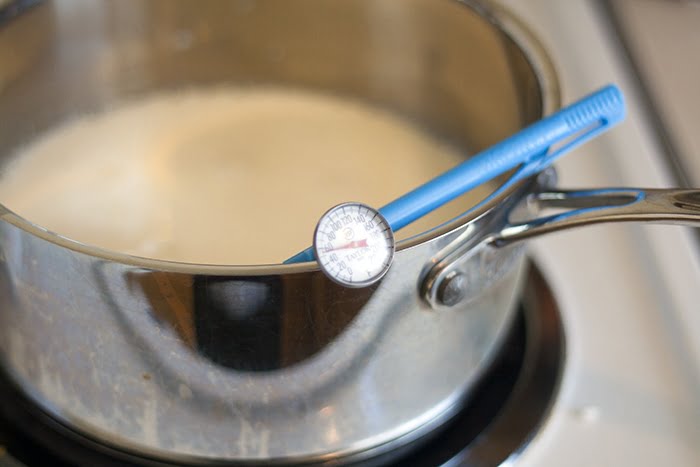
After I measure out my milk, I pour it into a pan and set it on the stove over medium heat. Some say to use a double-boiler so as not to scald the milk, but this method has always worked fine for me (and dirtying fewer dishes than I need to is a good thing!). I also rest the thermometer on the edge of the pan, checking it periodically so I know when it gets to 110°F.
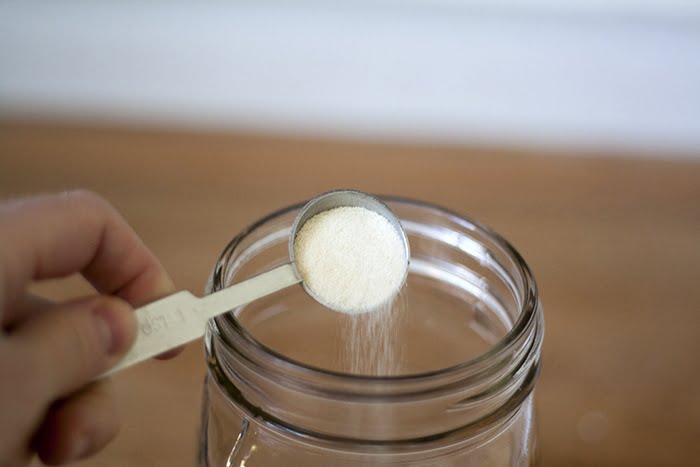
While the milk is heating up, I pour 1 heaping teaspoon of gelatin into each of my quart-sized jars. I then pour in enough milk to cover the gelatin and stir it up. This allows the gelatin to “bloom” before the warm milk goes into the jar. Gelatin doesn’t seem to like warm liquids and when I tried adding the gelatin into the warm milk, it took for-ev-er to dissolve.
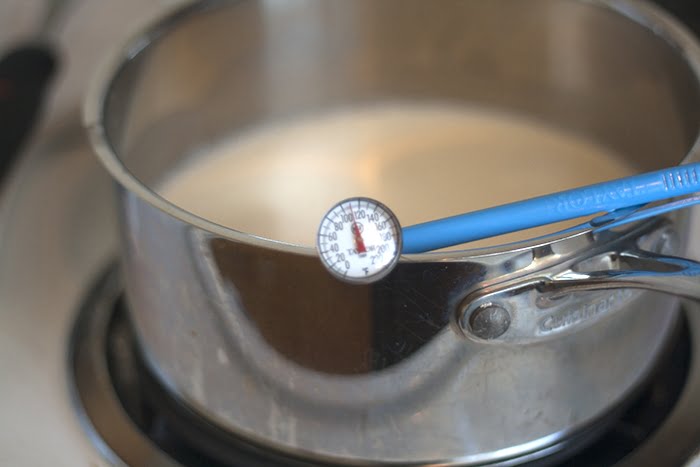
Once the milk reaches around 110°F, I take it off the burner and whisk in in two heaping tablespoons of yogurt.
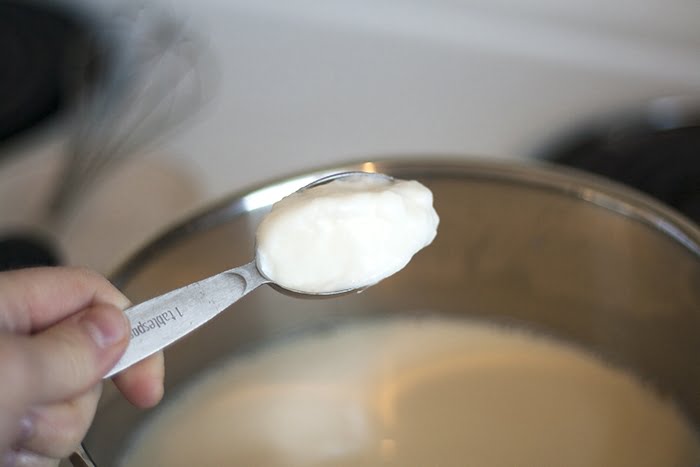
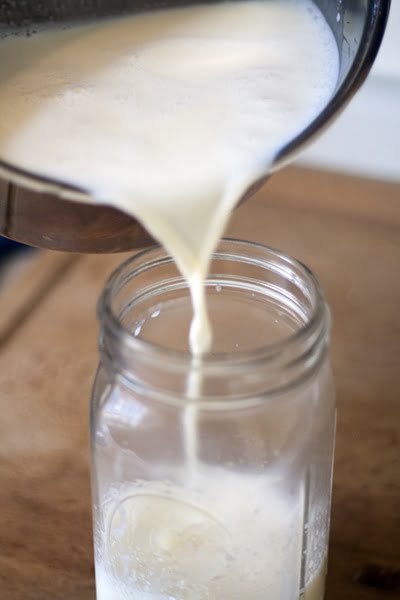
I then pour the milk/yogurt mixture into my mason jars (with the gelatin nicely bloomed) and drop in another heaping tablespoon-and-a-half of yogurt into each jar. I usually mix it all up with a spoon at this point and then shake it up again after the lid is on to make sure the gelatin is incorporated throughout.
Then I stick both jars in the dehydrator and let it run for 8 hours at around 105°F. This is B’s favorite part as he loves to watch the fan in the dehydrator start spinning.
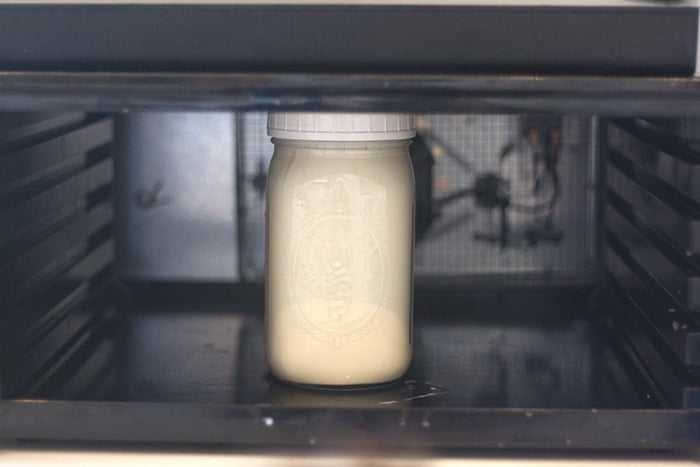
After 8 hours is up, I pop it in the fridge and let it chill overnight. Two quarts usually lasts us about five days or so and I generally serve it with a little maple syrup mixed in to add some sweetness, but it’s also very tasty on its own.
Easy!






Hi! I want to try this but do not have a dehydrator. Could I use my oven on 105 degrees for 8 hours? Does this turn out thick?
I only have experience making it with a dehydrator, so I’m not sure. I’m sorry I can’t help!