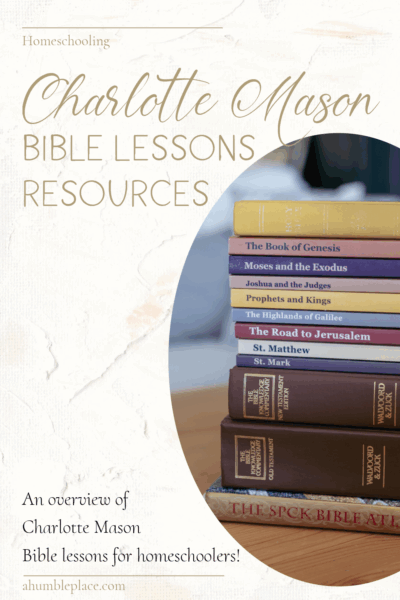
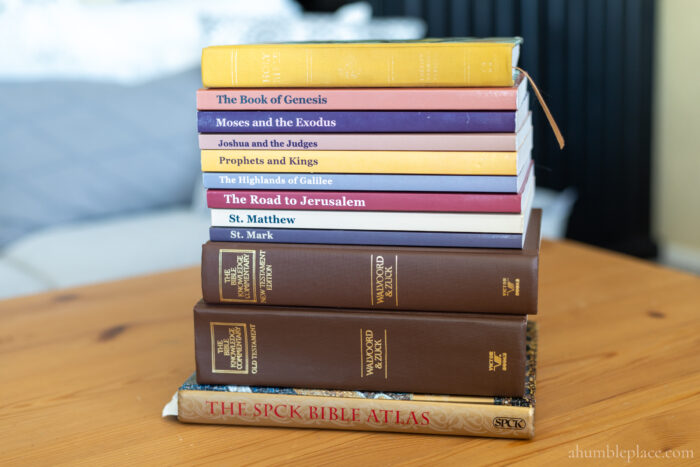
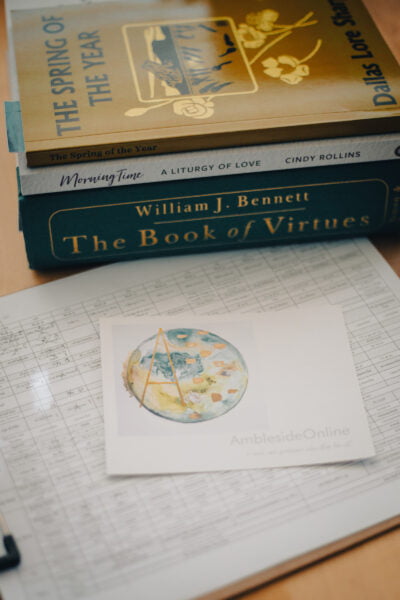
Charlotte Mason Bible Lessons Resources
One of my favorite aspects of the homeschooling (and especially Charlotte Mason!) community is hearing how others approach their subjects and what resources they use. The majority of the resources I use in our homeschool I learned about from friends with older kids or from websites focused on Charlotte Mason education. Because of this, I decided to share the resources we use in our homeschool, and this post will include everything we’ve found helpful for teaching Charlotte Mason Bible lessons! I love the simplicity of Ms. Mason’s approach to teaching the Bible to students in that she kept it simple and allowed the text to speak for itself, without accompanying every reading with a moral lesson.
Below are the resources we’ve used at various times, which have been so helpful in making our Bible lessons more engaging and leading to great discussions!
Charlotte Mason Bible Lessons
The method of such lessons is very simple. Read aloud to the children a few verses covering if possible, an episode. Read reverently, carefully, and with just expression. Then require the children to narrate what they have listened to as nearly as possible in the words of the Bible. It is curious how readily they catch the rhythm of the majestic and simple Bible English. Then, talk the narrative over with them in the light of research and criticism. Let the teaching, moral and spiritual, reach them without much personal application. I know of no better help in the teaching of young children than we get in Canon Paterson Smyth’s Bible for the Young.
Charlotte Mason (Home Education)
Resources
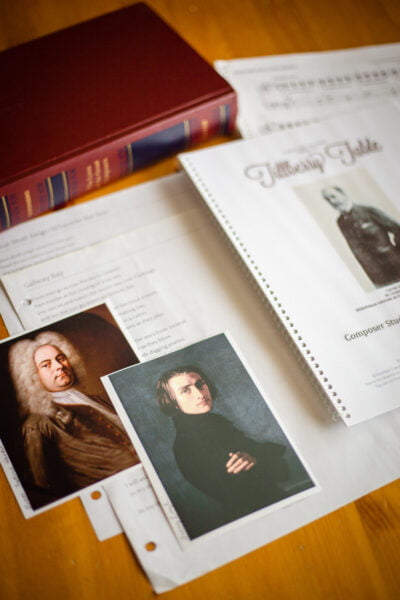
The AmblesideOnline Bible-reading schedule beginning in Year 2 is based on the J. Paterson-Smyth commentaries Ms. Mason mentions in the quote above, so I started ordering them when my son was still in Year 1. I began reading them in advance of Year 2 and thought they were fantastic, offering great insight. These are not meant to be read to your student verbatim; they are more of a resource for you, as the teacher, to provide a little more background on the readings. I included these in my pre-reading time and underlined the parts that I wanted to share with my kids.
Generally, with the kids, I read the parts where he “sets the scene” to provide a better idea of the setting and any additional information that might be pertinent to the lesson. For instance, when we read about Moses as a boy, I showed my students the picture of the Egyptian “copywork” from the book. And when we read the story of the friends lowering the invalid down through the roof to be healed by Jesus, I built a little model with books as he outlines in the commentary. He does get a little heavy-handed with moralistic teaching at times, and I did not read those parts to my kids.
I have had friends who have found the Paterson-Smyth commentaries challenging, either because they did not have enough time to pre-read them before the lesson or because the wording was difficult to understand. In that case, a resource to consider that I haven’t used but have heard good things about is The Children’s Feast guides, which aim to make these commentaries more accessible.
I use the English Standard Version (ESV) of the Bible for our lessons. Originally, I followed the advice of Lynn Bruce from AO and used the King James Version (KJV), which is also the only version approved by the church I attended in my childhood. However, I had reservations as the language can be challenging to a young child, and I wanted to make it as accessible to him as possible. Later, I read a post on New Testament Bible lessons by Art Middlekauff of Charlotte Mason Poetry in which he mentioned that Ms. Mason used the English Revised Version when she wrote The Saviour of the World, which used more modern language than KJV but is hard to find. My preferred version is ESV, which also uses more modern language, so that’s what I ultimately decided to use with my kids, and that has gone very well for us.
When we go through our Bible lessons each week, I simply read a portion of that day’s passage (I generally break it up by the paragraphs or sections in my Bible), then allow my students to narrate. In the lower grades, if I wanted to “set the scene” as outlined above, or give a little background information about cultural differences or historical relevance, I would add that from the Paterson-Smyth commentary after they narrated.
As they’ve gotten older, I’ve also included very brief readings from my Bible commentary to clarify the passages when needed. Then I move on to the next portion until we’ve read the whole passage for that day. (Sidenote on the commentaries that I own: I don’t necessarily recommend these, but I’ve had them since I was a teenager, so they’re on my shelf, and they’ve come in handy for looking things up. I think any commentary that you prefer will do.)
Bible lessons are meant to be so simple that there is no need to add a whole lot of extra explanation to them (especially of the moral lecture kind). However, I also think that the Paterson-Smyth books have offered insight into passages that I have read many times before that I may not have otherwise considered.
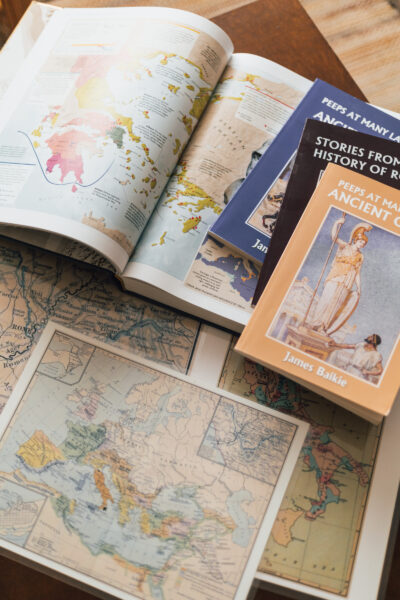
An atlas is helpful to have on hand to see where a particular passage is set, especially since some locations in the Bible are known by different names. You can show your student that many of these stories overlap and how specific places are particularly sacred. My favorite one to use is the SPCK Bible Atlas linked above, but the Student Bible Atlas is another good option that I have used in the past. I usually leave it open to whatever map is appropriate for our passage that day while I’m reading to my kids, and then point out the various places mentioned in the passage after they’ve narrated.
Keep in mind that these are Bible “lessons” and not meant to be a personal devotional time. That is a different item to include in your schedule outside of school time. Keep these lessons simple, focusing on what the passage says in the greater story of God’s plan. If there is a deeper meaning to be had, leave that to the Holy Spirit!
More of My Favorite Homeschooling Resources


Enter your email address here to get updates and exclusive downloads, including a free Picture Study Aid!
(If the form is not loading for you, you can also sign-up here!)


This is very helpful – thank you! What bibke do you read to your children? My kids are 12 and 10, and I’m trying to decide which Bible we should use for next school year. We will be following AO suggested schedule for the first time.
I use the English Standard Version in our homeschool. We did KJV early on based on this article, but my son really struggled with it and he has been much more engaged with this version.
What age were your students when you started reading directly from the Bible?
Mine’s only 3 and LOVES Ella K. Lindvall’s Read-Aloud Bible Stories series. (The only problem is at the end of each story, there’s the question, “What did you learn?”, to which “Ice cream” is the only reply, given in giggles. Of course it’s age-appropriate for a 3 yo, but I do hope she grows out of it by narration time! Lol)
Thanks for sharing these incredible resources and your beautiful blog! (And meal plan!!) I’m very grateful for the resources to start thinking about and building our foundation early. 🙂
Ice cream is an awesome answer for everything, even when you’re an adult. 😁 For school, we began reading from the Bible in Year 1. I used various children’s Bibles before that (Jesus Storybook Bible, Children of God Storybook Bible, The Child’s Story Bible [by Catherine Vos] were our favorites).