
Simple Ideas for Displaying Picture Study Art

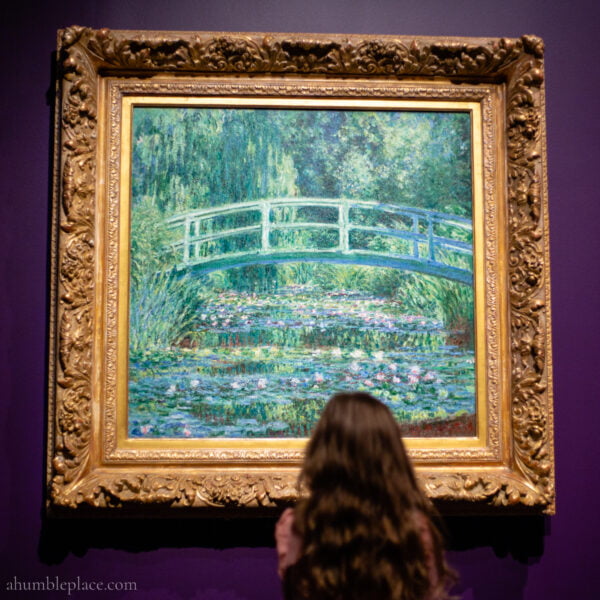
I receive quite a few questions related to picture study in my inbox, including why it’s important, how to do it, and how to print art. Another one that sometimes comes up is how to display picture study art. In this post, I’m tackling this question with a few ideas for ways you can add the beauty of fine art to your homeschool area!
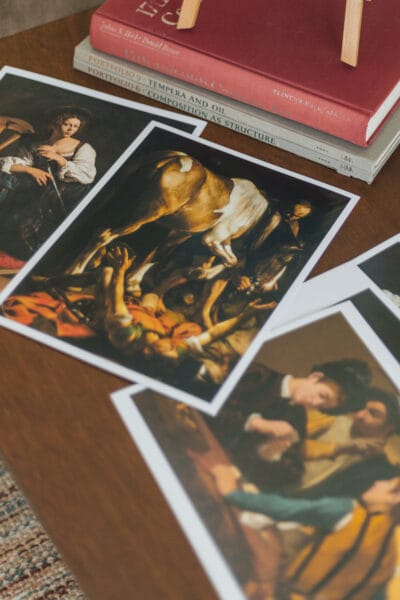
Easels

One of the simplest ways to display your picture study prints is with a tabletop easel. When we first began homeschooling and my son was my only student, I had one of these propped up on our school table, where I displayed whatever piece of art we had most recently studied. I liked this option because the art was always available for him to see. If he wanted to study it spontaneously or if he happened to glance at it while he was doing copywork, it was another chance for it to be “hung in the halls of his imagination.”
Several options for tabletop easels are available, ranging from the one I linked to above to larger artist stands that offer more support. I have several of these throughout our home, including one on our school table for each child and one on our piano. I do display our current picture study art on the wall near our couch (more on that below), but if they choose, they can also display their copies on their easels, which they have done on occasion.
These easels are also suitable for other subjects. I have one on the coffee table in our school area for extra whiteboards, maps, our school calendar, and more (you can see a tour of our homeschool room here to find out more).
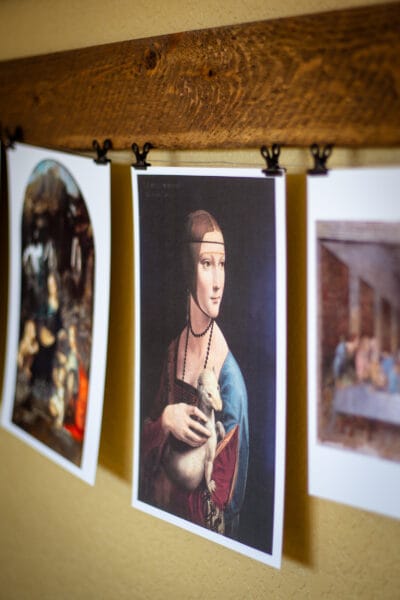
Wood Board Picture Display
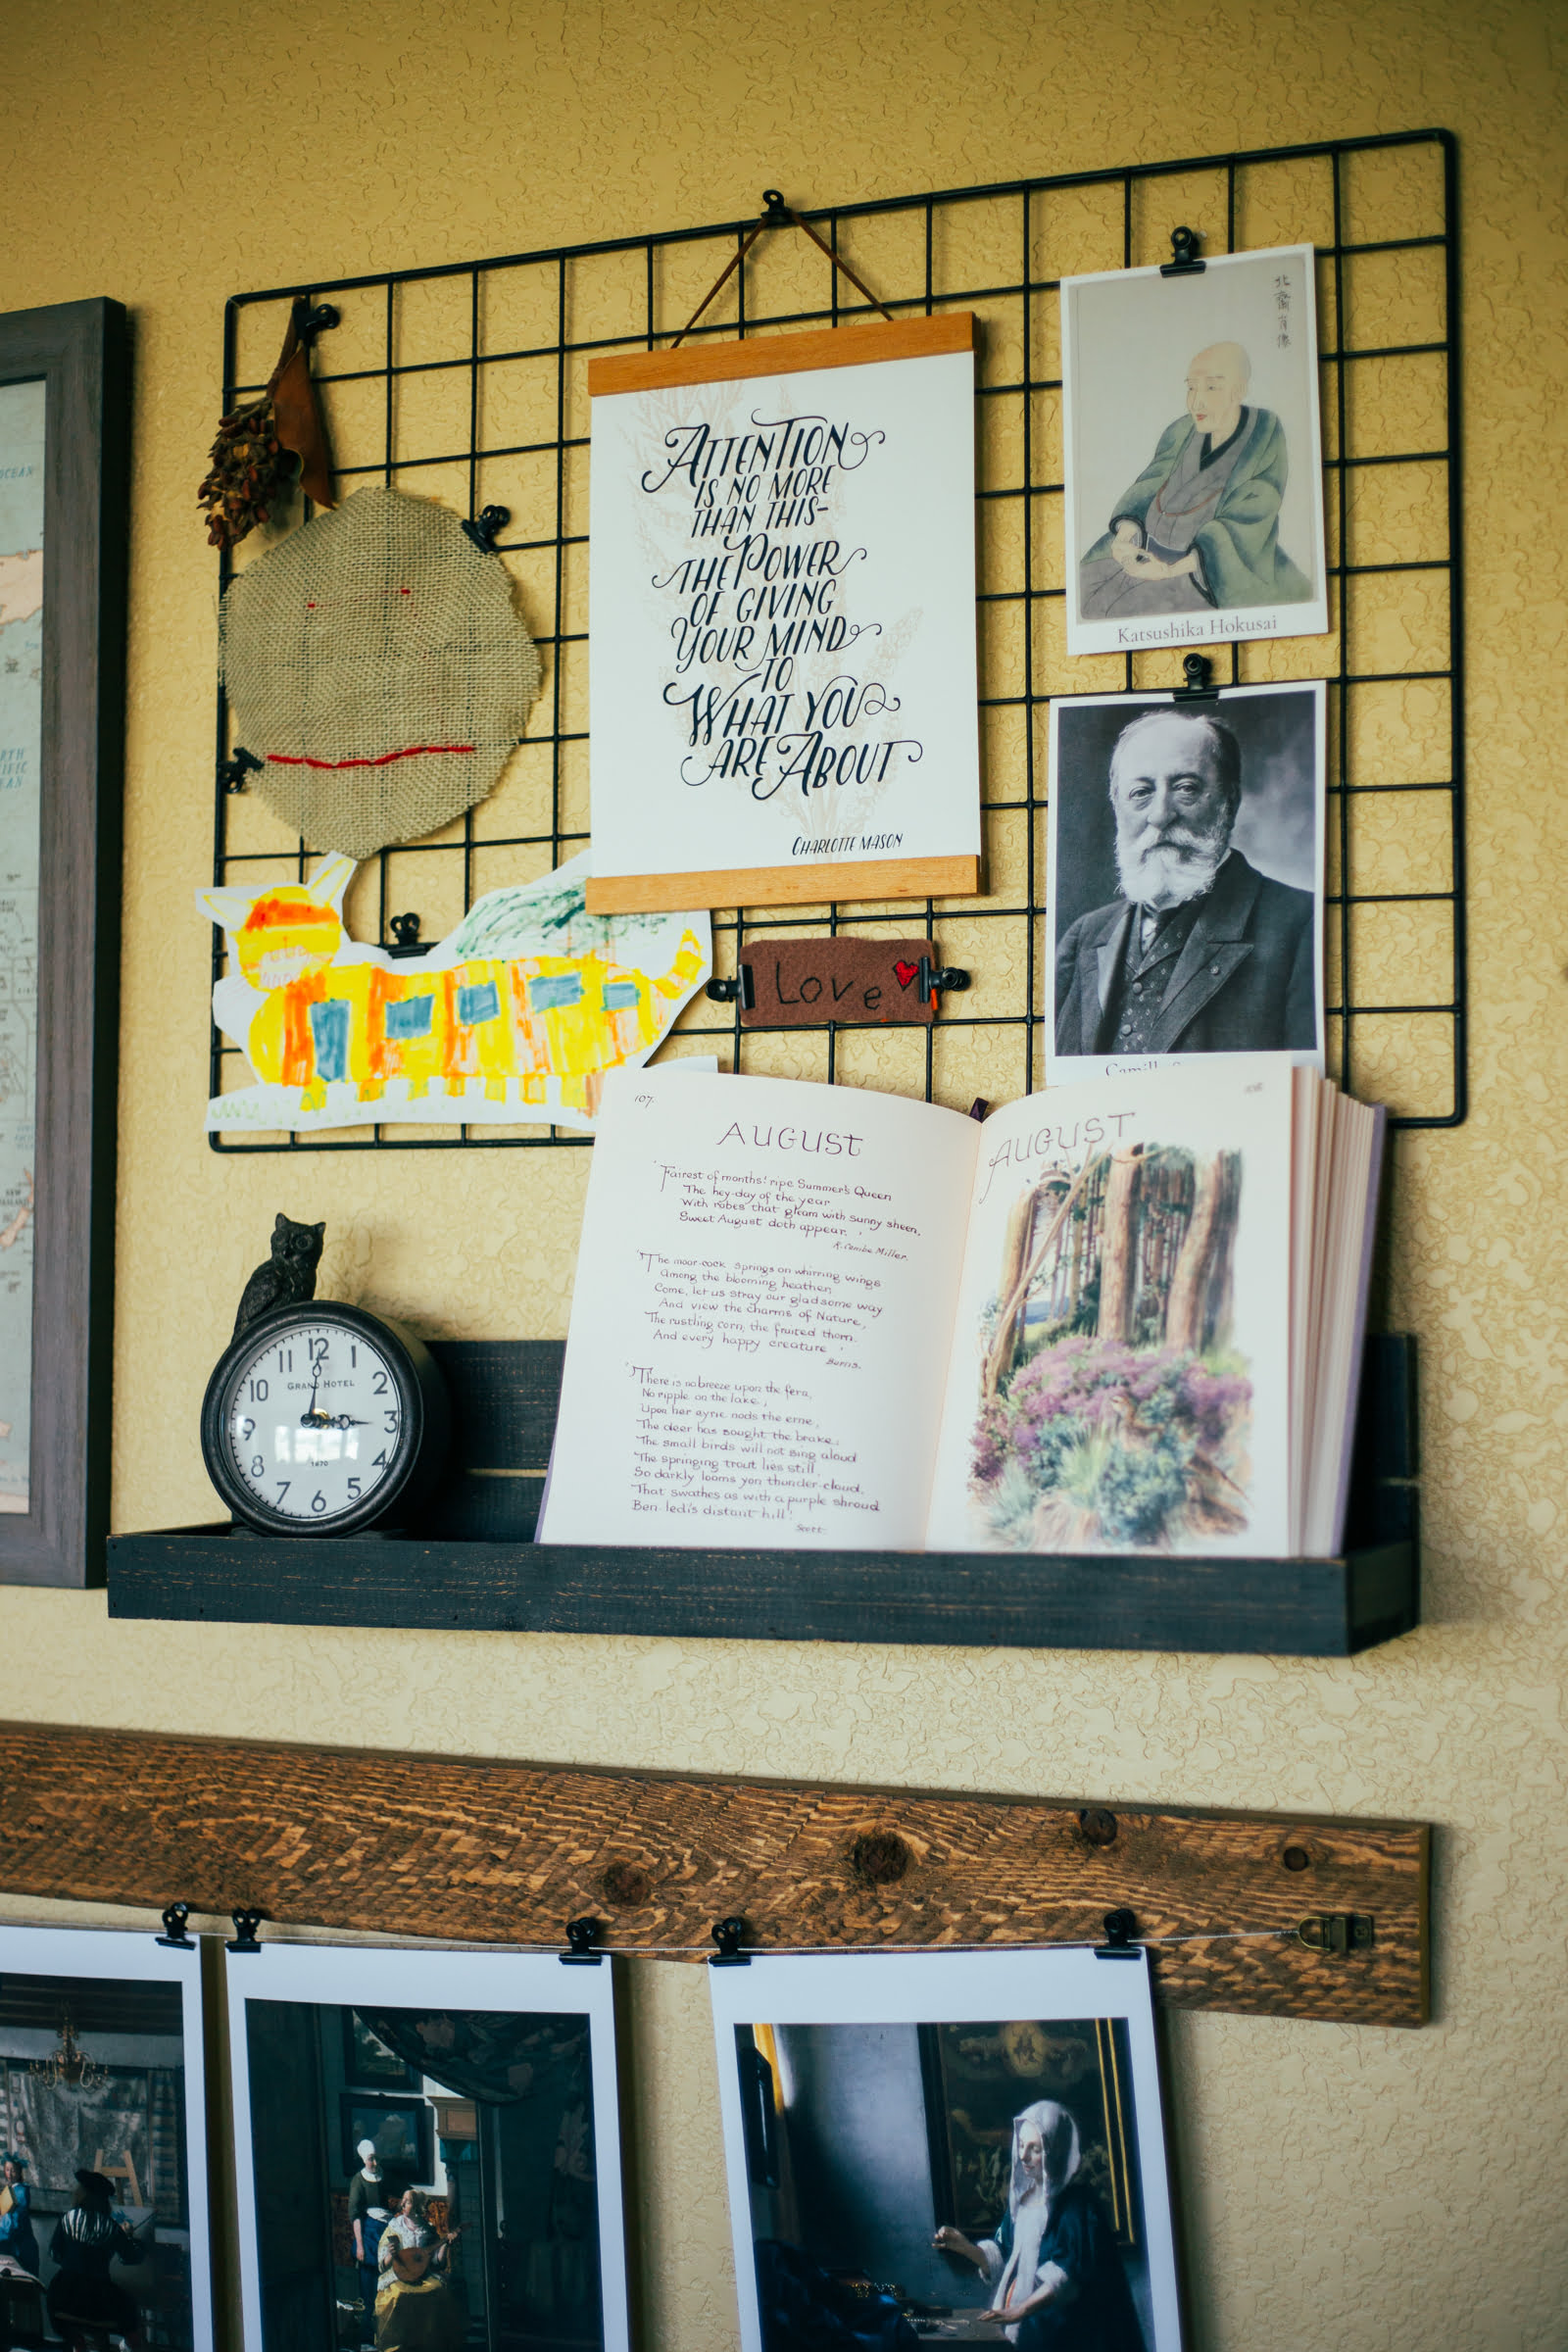
When I decided to move our homeschool area from the basement to our living room, I wanted a way to display our picture study prints for the entire term so we would have more opportunities to see the art before putting it away in binders or books. I browsed Pinterest and Instagram for ideas before taking the plunge and putting together my own little display apparatus. I’m not a particularly crafty or handy person, so the fact that this turned out at all is something of a miracle.

How to Make a Picture Study Display Board
To make one similar to the one I have, you will need:

And here is how I put it together:
- Cut the board to the desired length, if necessary. I wanted mine to match the width of the things hanging above it, so we had to cut off a few feet. If you cut it, you will have an unfinished edge, which you may want to refinish. (I didn’t want to buy wood finish just for this, so I chose to hang this edge away from the rest of the room on the side where it wouldn’t be noticed.)
- Attach the D-rings to either side of the front of the board. I made slight indentations for the screws about halfway down the board and about an inch away from the edge. The wood was soft enough that I could screw them in with a screwdriver, and they’ve been very secure.
- String the wire through the loops and trim it so that there is enough leftover to wrap it around itself a few times. I left enough wire to wrap the ends around the main part of the wire twice next to each D-ring. You’ll want to keep this pretty taut as the wire will sag over time.
- Attach the sawtooth hangers to the back. I have one on either side and one in the middle near the top of the board.

And that’s it! It has stayed very securely on our wall and displays our prints beautifully.
I usually put up the most recent piece we’ve studied right after we look at it, and then remove the oldest piece from the wire and move it to the piano easel. This means that sometimes I have a mixture of artists up there (as in the images here when we were transitioning from Winslow Homer to Hokusai. Still, I like how this allows us to see differences and similarities between our recent artists.
If you’d rather not make your own, there are wire display kits that seem very simple to hang up as well.
Clipboards

Another simple option is clipboards! I have a few friends who have hung clipboards on the walls of their homeschool area, with each piece from that term being on its own clipboard. My friend Jennifer also painted her clipboards with chalkboard paint so she could write the name of the artist, the title, and the date of the piece on the clipboard in chalk, which I thought was a great idea.
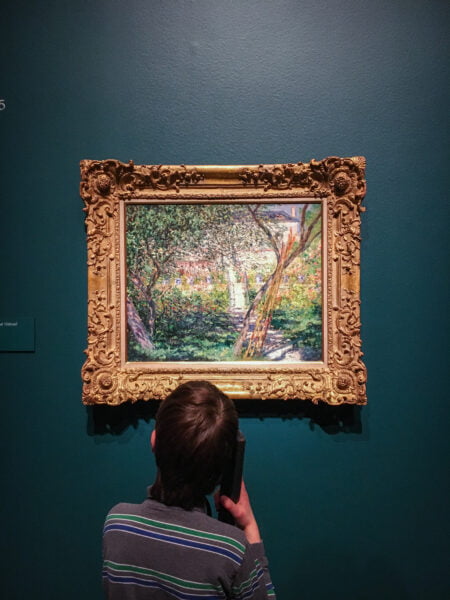
Frames
Of course, basic picture frames are always an option as well. You can find a set of matching frames for uniformity or mix it up with frames and mattes of different sizes and types (we have a few of these magnetic frames displaying art in our school area) to create a gallery wall. Either of these options can be artfully arranged, and I have seen several families successfully do so. The frames add a refined and finished look to their school area.
These are just a few ways of displaying picture study prints in your homeschool. I think what I feel is the most important aspect is that they are being displayed so that your students can come back and look at them whenever they’d like. Please share in the comments below how you display your picture study pieces!
Other Posts About Picture Study


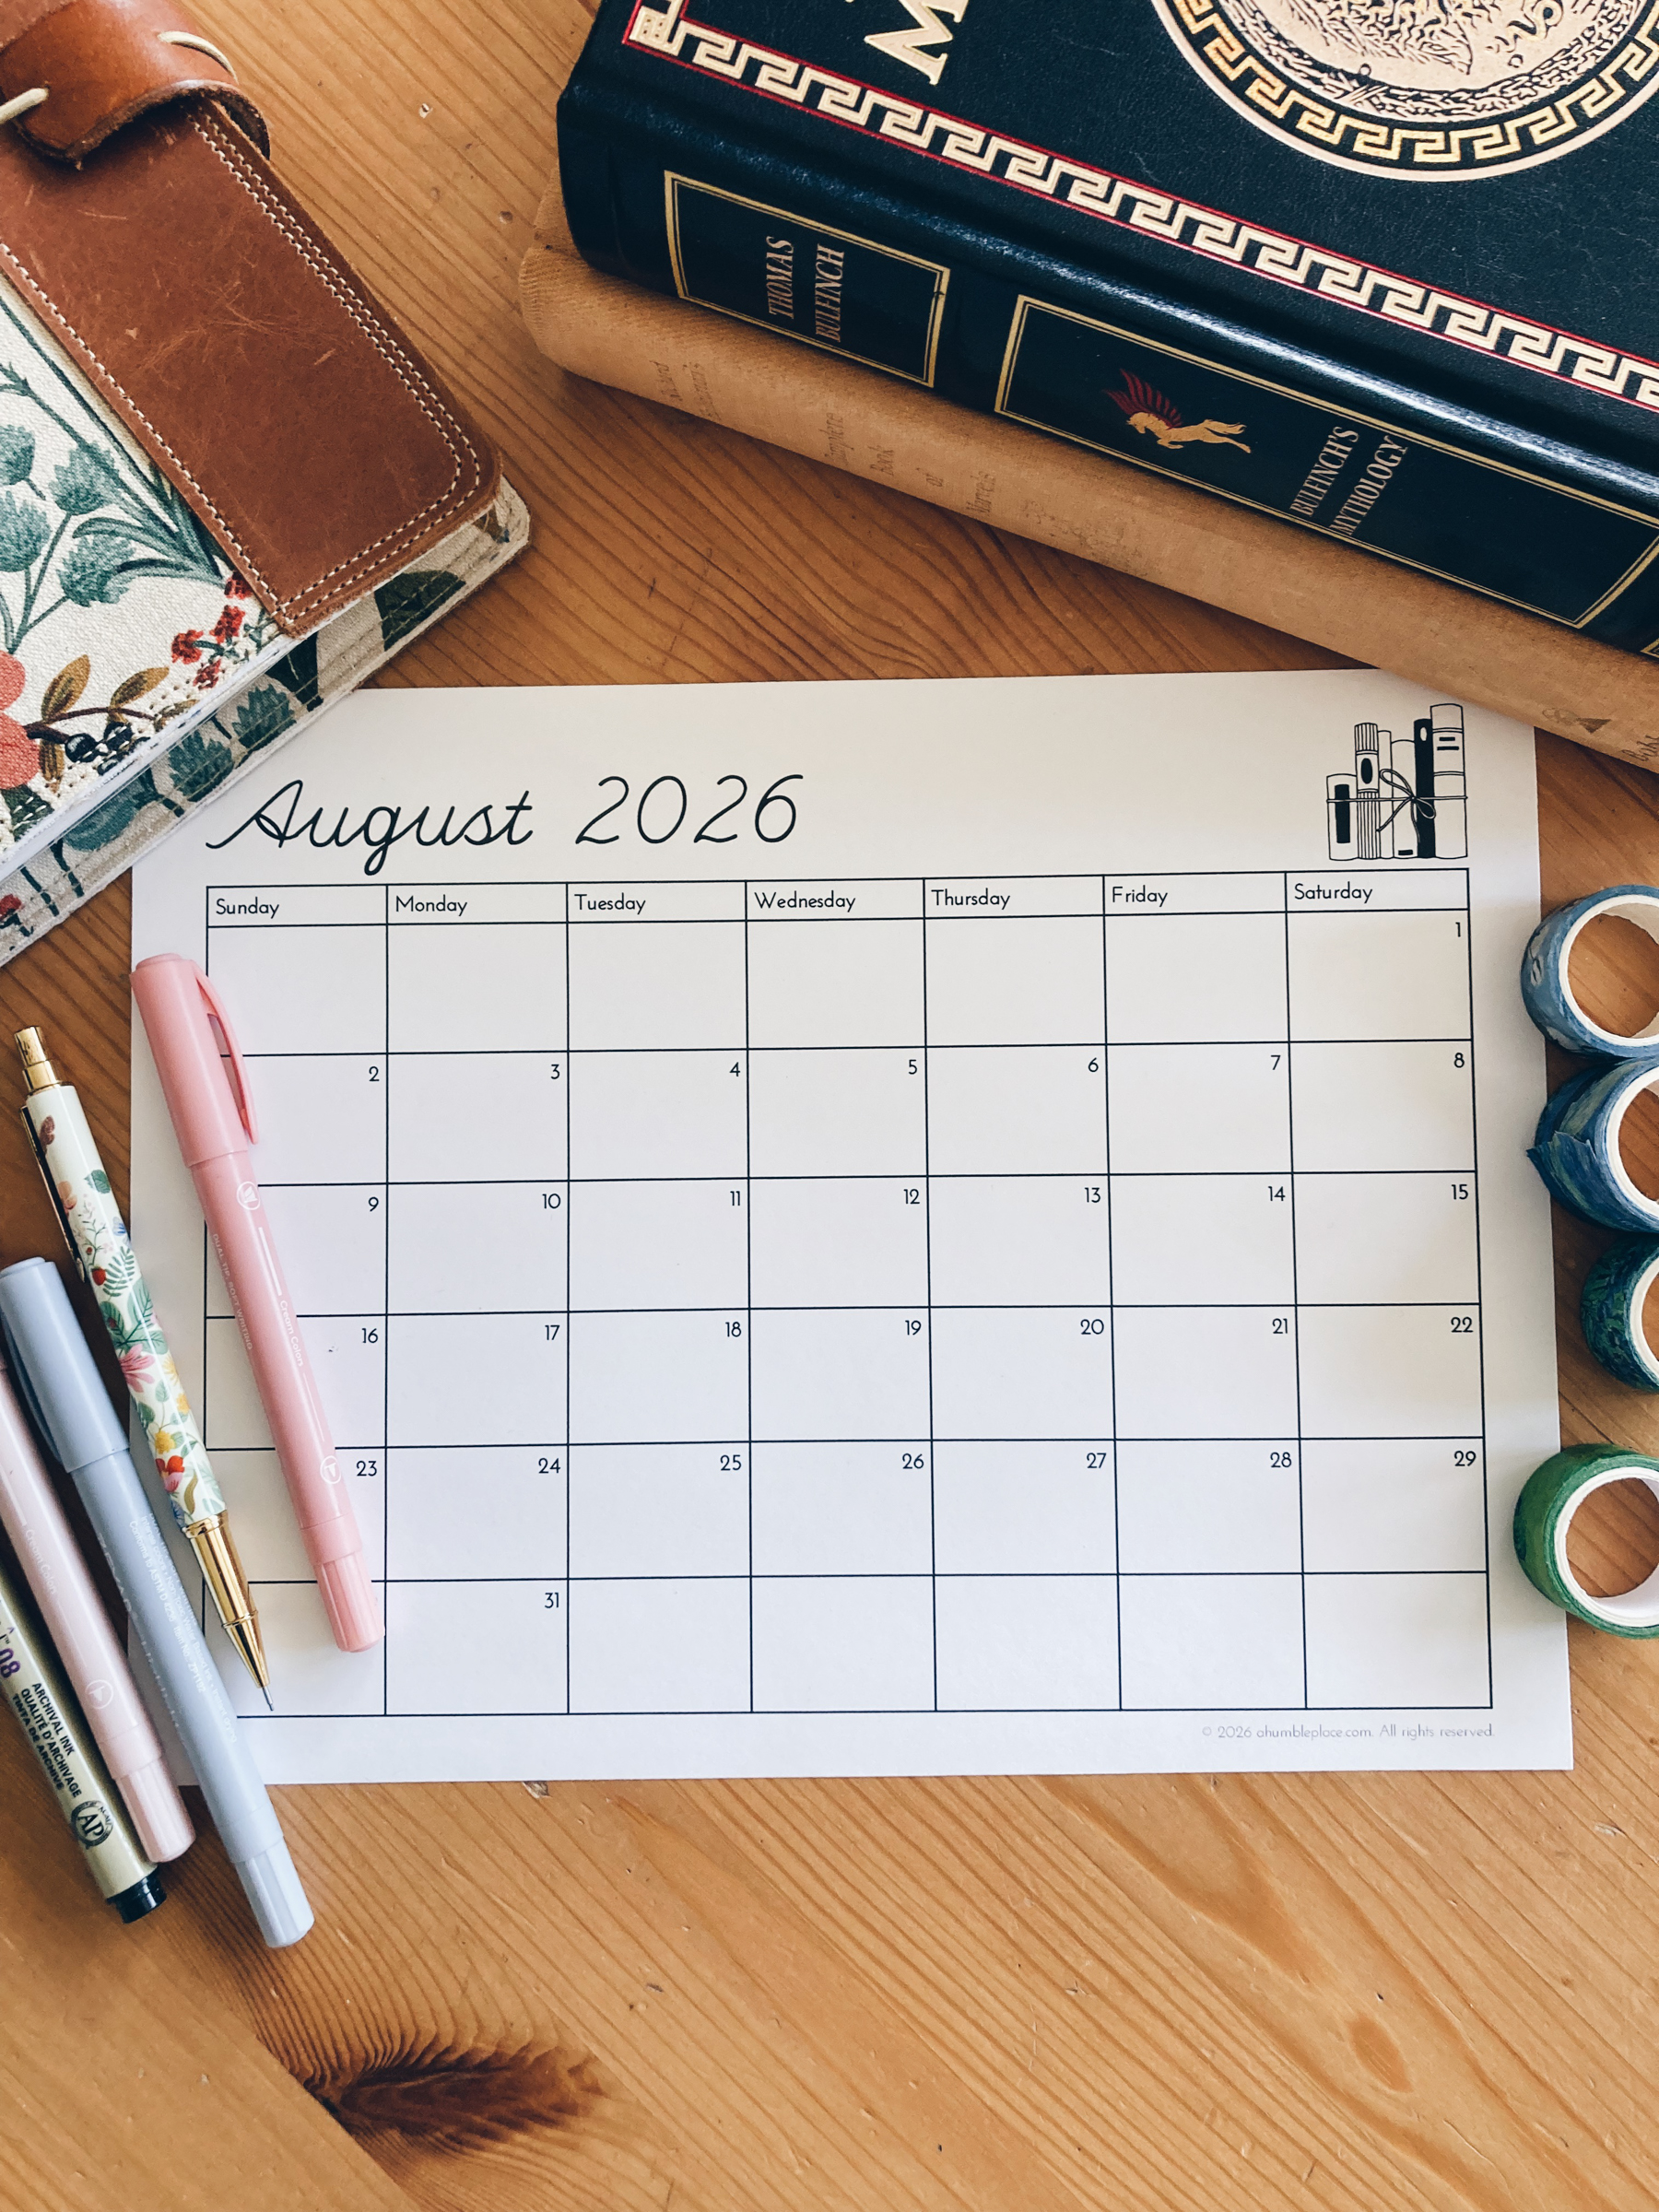
Enter your email address here to get updates and exclusive downloads, including a free Picture Study Aid!
(If the form is not loading for you, you can also sign-up here!)


I’m going to get an easel next time I am in Dollar Tree!
This is great! I love your world map. Where did you find it?
The one on the wall is from Etsy – https://www.etsy.com/listing/495413092/world-map-rustic-style-uncustomized-old 🙂
Have you printed these enlarged on canvas before successfully? For some of our family favorites?
I have not printed them on canvas before, but usually when you’re uploading a file to a printing service, they should tell you if it’s high enough resolution for the size you’re wanting to print.